


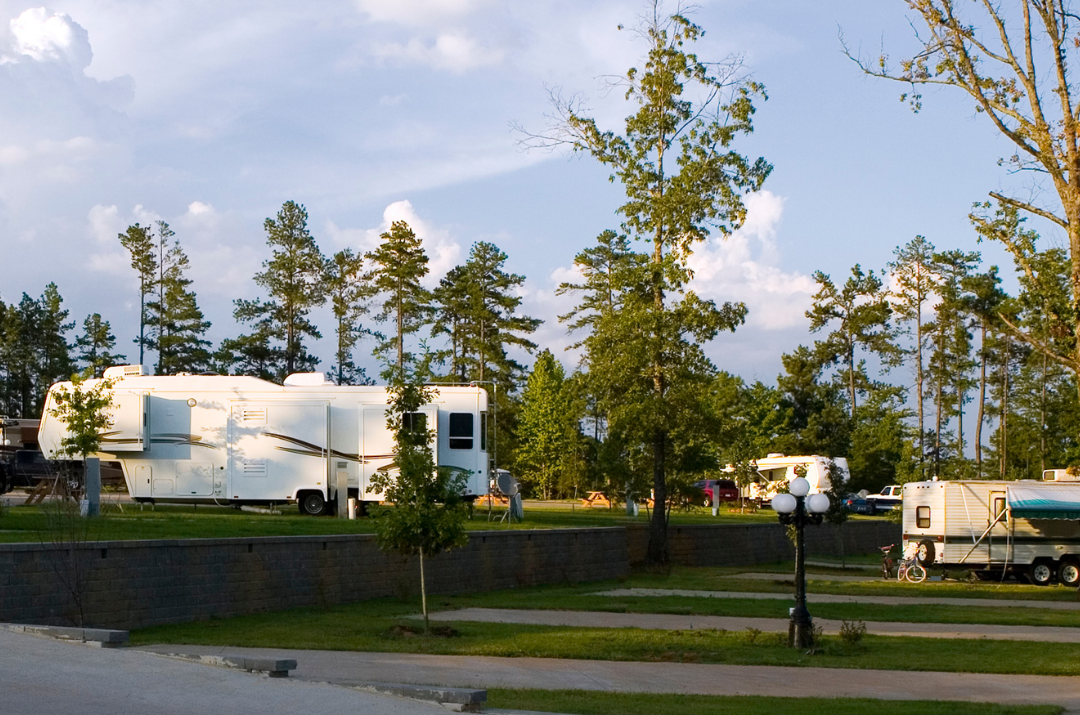
Winter is approaching, and for RV owners, it’s the season to prepare your home on wheels for the cold months ahead. RV winterization is essential to protect your vehicle from freezing temperatures, potential damage, and to ensure it’s ready to hit the road when spring arrives. This comprehensive guide will walk you through the process step-by-step, providing all the tips and tricks you need to safeguard your RV during winter.
Why RV Winterization is Crucial
RV winterization is not just a suggestion; it’s a necessity. Freezing temperatures can cause significant damage to your RV’s plumbing, engine, and overall structure. Here’s why winterizing your RV should be at the top of your seasonal checklist:
- Prevent Burst Pipes: Freezing water can expand and rupture your RV’s plumbing system.
- Protect the Engine: Cold weather can impact engine components and fluids.
- Avoid Mold and Mildew: Proper cleaning and ventilation prevent unwanted growth inside your RV.
- Save Money on Repairs: Winter damage can lead to costly repairs if not addressed in advance.
By winterizing your RV, you ensure it remains in top shape and ready for adventure when the weather warms up.
Essential Tools and Supplies for RV Winterization
Before diving into the process, gather the tools and supplies you’ll need. Having everything on hand will make the process smoother and more efficient.
- RV Antifreeze: A non-toxic antifreeze designed specifically for RVs is critical for protecting your plumbing.
- Water Pump Converter Kit: Useful for pumping antifreeze into the system.
- Air Compressor: Helps to blow out water lines.
- Wrenches and Screwdrivers: Essential for opening and closing components.
- Cleaning Supplies: For deep cleaning before storage.
- RV Cover: To protect the exterior from snow, ice, and debris.
Step-by-Step RV Winterization Process
Drain the Water System
The first step in RV winterization is removing all water from your RV’s plumbing system. Any remaining water can freeze and damage the pipes.
- Turn Off Water Heaters: Ensure the water heater is off and has had time to cool down.
- Open Drain Valves: Locate and open the low-point drain valves to let the water flow out.
- Drain the Freshwater Tank: Open the freshwater tank drain and let it empty completely.
- Drain the Water Heater: Use the drain plug or valve to empty the water heater. Be cautious, as water may still be hot.
Blow Out Water Lines (Optional)
Blowing out your water lines with an air compressor is an additional step to ensure no water remains in the pipes.
- Attach an air compressor to the city water inlet using an appropriate adapter.
- Open all faucets and valves, including showerheads, to allow air to push out any remaining water.
- Close the faucets once water stops flowing.
Add RV Antifreeze
Adding antifreeze to your plumbing system is a critical part of winterizing your RV.
- Bypass the Water Heater: Use a water heater bypass kit to prevent antifreeze from entering the tank.
- Install a Pump Converter Kit: This will help pump antifreeze into the system.
- Run Antifreeze Through Lines: Turn on the water pump and open each faucet, starting with the closest and moving outward, until pink antifreeze flows through.
- Don’t Forget the Drains: Pour a small amount of antifreeze into all drains and the toilet to protect the traps.
Clean the Interior
Winter is a long season, and leaving your RV uncleaned can lead to unpleasant surprises when you reopen it in the spring.
- Empty and Clean the Refrigerator: Remove all food and leave the doors slightly open to prevent mold.
- Vacuum and Dust: Thoroughly clean all surfaces to avoid attracting pests.
- Inspect for Repairs: Check for any leaks or damage that need attention before storage.
Prepare the Exterior
The exterior of your RV needs attention too, as it’s exposed to the elements during winter.
- Wash and Wax: Cleaning the exterior protects against dirt and grime buildup.
- Seal Windows and Doors: Check and reseal any gaps to keep out moisture.
- Cover the RV: Use a high-quality RV cover to shield your vehicle from snow, ice, and UV rays.
Storing Your RV for Winter
Proper storage is just as important as the winterization process itself. Here are some tips for choosing the right storage solution:
- Indoor Storage: If available, this is the best option for protecting your RV from the elements.
- Covered Outdoor Storage: A cost-effective alternative that still offers protection from snow and rain.
- Open Outdoor Storage: If this is your only option, invest in a durable RV cover.
Before storing your RV, ensure all vents are closed, batteries are disconnected, and tires are properly inflated.
Common RV Winterization Mistakes to Avoid
Mistakes during the winterization process can lead to costly damage. Here are common errors and how to avoid them:
- Forgetting the Water Heater Bypass: Skipping this step wastes antifreeze and may damage your water heater.
- Neglecting Roof Maintenance: Small leaks can lead to significant interior damage over winter.
- Not Ventilating Properly: Poor ventilation can lead to moisture buildup and mold growth.
- Using Household Antifreeze: Always use non-toxic RV antifreeze to avoid poisoning.
De-Winterizing Your RV in Spring
When the snow melts and adventure calls, it’s time to de-winterize your RV. Here’s how to prepare it for the road again:
- Flush the Antifreeze: Run fresh water through the system to remove any antifreeze residue.
- Reconnect the Water Heater: Reverse the bypass process and fill the tank.
- Check for Leaks: Inspect plumbing and seals for any damage incurred during storage.
- Test All Systems: Run checks on your appliances, engine, and other systems to ensure they’re functioning.
Tips for First-Time RV Owners
If this is your first time winterizing an RV, it can feel overwhelming. Here are a few extra tips to make the process easier:
- Follow the Manufacturer’s Guide: Always refer to your RV’s user manual for specific instructions.
- Ask for Help: Seek advice from experienced RV owners or professionals.
- Create a Checklist: Keep track of the steps you’ve completed to avoid missing anything.
Hiring a Professional vs. DIY RV Winterization
While many RV owners prefer to tackle winterization themselves, hiring a professional is also an option. Consider the following:
- Cost: DIY is more affordable, but professionals offer expertise and convenience.
- Experience: If you’re unsure about the process, a professional can ensure it’s done correctly.
- Time: DIY requires time and effort, while professionals handle everything for you.
Final Thoughts
RV winterization is a vital step in maintaining the longevity and functionality of your home on wheels. By following this ultimate guide, you can protect your RV from the harsh winter elements and ensure it’s ready for your next adventure. Whether you choose to do it yourself or hire a professional, taking the time to winterize properly will save you headaches and costly repairs in the future.
Embrace the process, and your RV will thank you with years of worry-free travel. Happy winterizing!
Apart from that, if you are interested to know about “The Unfortunate Causes of Bicycle Accidents in Fort Wayne” then visit our “Daily Bites” category.
