


Introduction
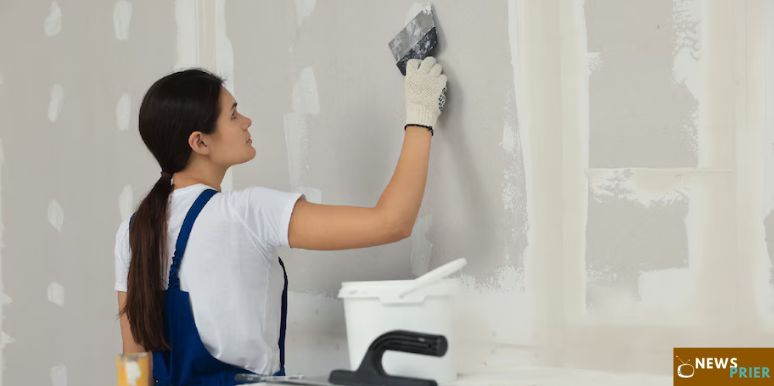
Learning how to spackle a wall is essential for anyone looking to maintain their home. Spackling helps fill in holes, cracks, and imperfections in drywall, giving your walls a smooth and polished look. Whether you’re preparing to paint or want to repair some damage, knowing how to spackle a wall is a simple process that requires just a few tools. This guide will walk you through the steps to effectively spackle a wall, ensuring you achieve professional-looking results. With a little practice, you can confidently handle small repairs and keep your walls looking their best.
Choosing the Right Type of Spackle
When embarking on the task of spackling a wall, selecting the appropriate type of spackle is crucial for achieving the best results. Various spackle options are available, including lightweight, vinyl, and epoxy varieties. Lightweight spackle is ideal for small holes and minor repairs, offering ease of application and quick drying times. For more substantial repairs or outdoor applications, epoxy spackle is highly durable and designed to withstand harsher conditions. It’s essential to read the label and choose a spackle that fits the specific needs of your project to ensure that it adheres properly and provides a lasting finish. This thoughtful selection contributes significantly to the overall success of your wall repair efforts.
How To Spackle A Wall?
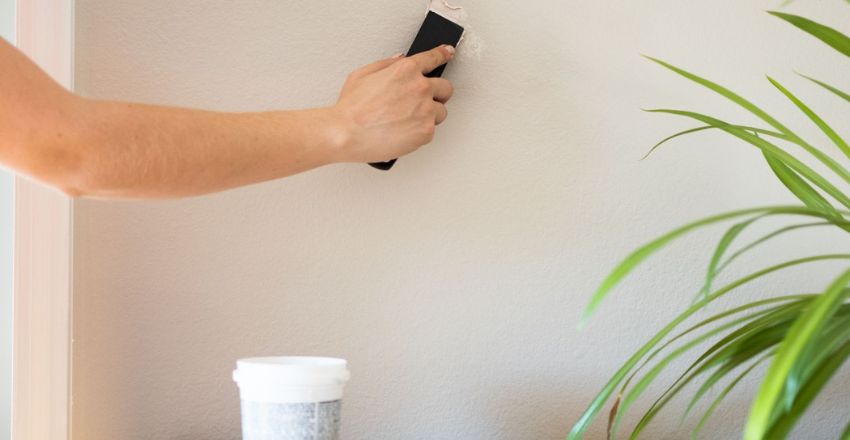
Knowing how to spackle a wall is important for anyone wanting to keep their home neat and well-maintained. Start by gathering your materials, including spackle, a putty knife, sandpaper, and a damp cloth. First, clean the area around the hole or crack to remove dust or debris. Then, apply the spackle using the putty knife, pressing it into the damaged area and smoothing it out. Allow the spackle to dry completely, which usually takes a few hours. Once dry, sand the area lightly until it feels smooth and even with the surrounding wall.
Tools and Materials Needed
Gather your tools and materials before diving into how to spackle a wall. You will need a tub of spackle, a putty knife, sandpaper (medium and fine grit), a damp cloth, and a primer or paint for finishing. Optional tools include a dust mask and a drop cloth to protect your floors. Having everything ready will make the process smoother and more efficient.
Preparing the Area
Preparation is crucial when learning how to spackle a wall. Start by clearing the area around the wall to avoid damaging furniture. Lay down a drop cloth to catch any falling dust or spackle. Remove the wall with a scraper or sandpaper if it has loose paint or debris. Clean the area with a damp cloth to ensure the spackle adheres properly. Proper preparation will yield better results.
Choosing the Right Spackle
When figuring out how to spackle a wall, choosing the right type of spackle for your project is essential. There are various types, including lightweight, vinyl, and epoxy spackles. Lightweight spackle is ideal for small holes, while epoxy is best for larger or outdoor repairs. Always read the label to ensure it’s suitable for your specific needs.
Applying Spackle: The First Layer
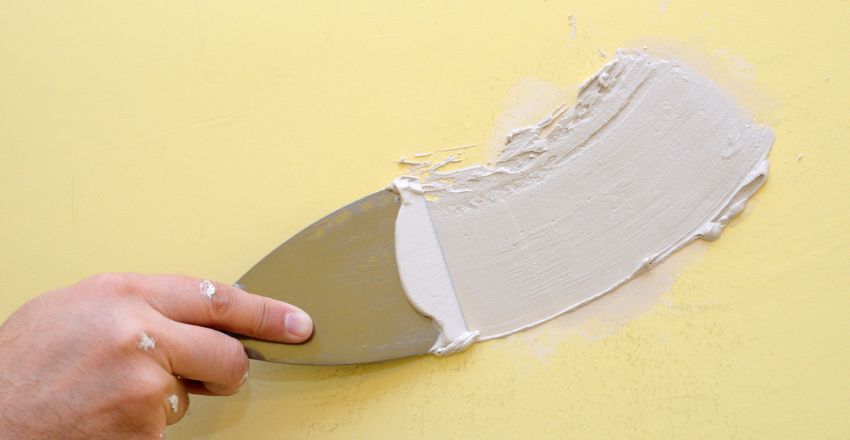
Now that you’re prepared, it’s time to learn how to spackle a wall. Scoop a small spackle and apply your putty knife to the damaged area. Press the spackle firmly into the hole or crack, ensuring it fills the space. Hold the putty knife at a 30-degree angle and spread the spackle smoothly over the area. Don’t worry about making it perfect; you can sand it later.
Letting It Dry
After applying the first layer of spackle, it’s important to let it dry completely. The drying time can vary based on the product used and environmental conditions, typically from one to several hours. Check the manufacturer’s instructions for specific drying times. During this time, avoiding touching the area is best to prevent damage.
Sanding the Spackle
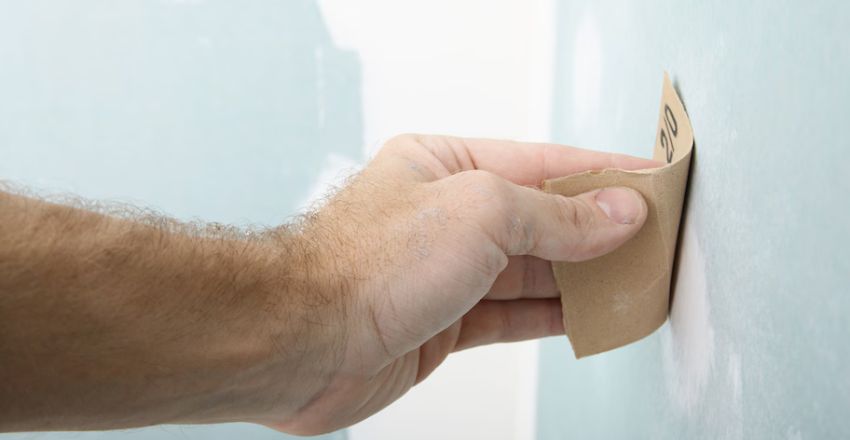
Once the spackle is dry, the next step in how to spackle a wall is sanding. Use medium-grit sandpaper to smooth out the dried spackle. Gently sand the area until it’s flush with the surrounding wall. Then, switch to fine-grit sandpaper for a final smooth finish. Be careful not to sand too aggressively, damaging the wall’s surface.
Cleaning the Area
After sanding, clean the area again to remove any dust or debris. Use a damp cloth to wipe the surface clean. This step is crucial because dust can interfere with paint adhesion. Ensuring the clean area will help achieve a flawless finish when you paint over the spackled area.
Priming the Spackle
Priming is an important step in how to spackle a wall. Once the spackle is smooth and clean, apply a coat of primer over the patched area. Priming helps the paint adhere better and prevents the spackle from absorbing too much paint, which can lead to uneven coloring. Use a small brush or roller to apply the primer, ensuring even coverage.
Painting the Repaired Area
After the primer dries, it’s time to paint over the spackled area. Choose a paint color that matches the rest of your wall. Use a small brush for touch-ups or a roller for larger areas. Apply at least two coats of paint, allowing each coat to dry thoroughly before applying the next. This will help blend the repair seamlessly into the rest of the wall.
Final Touches
Once the paint is dry, step back and assess your work. Check for any imperfections that may need touch-ups. If you notice any unevenness, apply a thin layer of spackle, sand, prime, and paint again. Taking these final touches seriously will ensure your wall looks as good as new.
Tips for Successful Spackling
- When learning how to spackle a wall, consider these helpful tips for success.
- Always use a putty knife that’s appropriate for the size of the repair; larger holes may require a wider knife.
- Work in thin layers of spackle, as they dry faster and reduce the risk of cracking.
- Finally, patience is key—allow ample drying time between each step for the best results.
Conclusion
Now that you know how to spackle a wall, you can confidently tackle those unsightly holes and cracks. Your walls will look refreshed and inviting with the right tools, materials, and techniques. Spackling is a valuable skill that enhances your home’s appearance and boosts your DIY capabilities. So, roll up your sleeves and get started on your next home improvement project!
Apart from that if you want to know about “A Whitewashed Brick House: A Timeless Charm, Benefits, Process, Maintenance and Much More” then please visit our “Home Improvement” Category.
FAQs
You’ll need a spackle, a putty knife, sandpaper, a damp cloth, and primer or paint. Optional tools include a dust mask and a drop cloth.
Clear the area of furniture and debris, and lay down a drop cloth. Clean the wall to remove dust or loose paint to ensure good adhesion.
Use a putty knife to scoop and apply spackle into the hole or crack, pressing firmly. Spread it smoothly over the area, filling it.
Choose lightweight spackle for small holes and quick touch-ups. For larger repairs or outdoor use, consider epoxy spackle for its durability and weather resistance.
You will need a putty knife, sandpaper (medium and fine grit), spackle, a damp cloth, and primer or paint for finishing.
